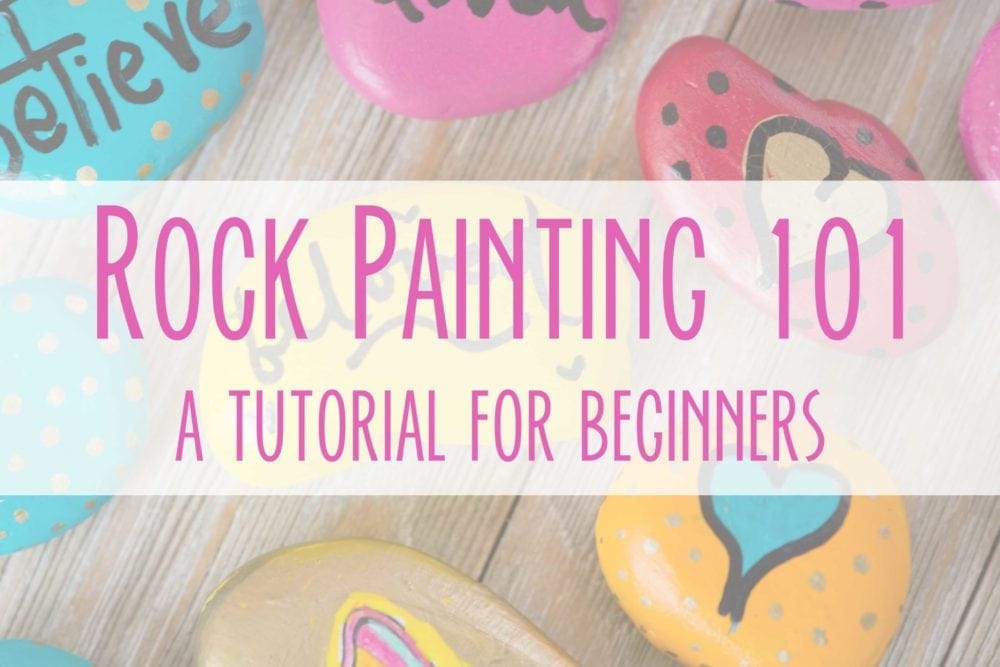
Have you ever been traipsing around town and come across a rock painted in bright colors?
Or maybe you’ve seen painted rocks posted online. (There are even facebook groups devoted to rock painting!)
All over the nation, families and communities are gathering together to paint rocks with brightly colored designs.
It’s a real trend and so much fun!
(As an Amazon Associate I earn from qualifying purchases. See my full disclosure here.)
What’s the Purpose of Rock Painting?
It’s a way to connect with the community. It’s the fun of painting rocks and hunting to find them. It’s kind of like a geocaching experience with bright painted collectibles.
People hide their rocks in a public place, take a pic of the location and post it in online communities for other people to see the hint and go on a painted rock ‘hide and seek’. Finders take a picture of the found rock to post it on social media. As a way of paying it forward, the finder will either rehide the same rock in close proximity or replace it with one of their own. And the cycle continues… It’s just plain fun!
Supplies Needed for Rock Painting
Rock painting is a relatively cheap hobby and takes very few supplies.
Here are the supplies I’ve used and a rock painting tutorial for you to create the rocks you see posted throughout this blog post:
Step by Step Tutorial for Rock Painting- Choose Your Rocks
These can be purchased at a dollar store or home store or at Amazon. You can even use random stones found on your family walks or hikes.
Wash Your Rocks
If your rocks are smooth and shiny they have possibly been treated with wax or oil. As a preventative measure, wash or voil them to remove any coating. For natural rocks, rinse your rocks and remove any dirt/debris and let dry thoroughly.
Paint Your Rocks
I paint many rocks at one time, so I am able to work in cycles and save time compared to working on one rock at a time. I used a coat of gesso on a few of my rocks and others just added multiple coats of the color of my choice. Either one worked for me. Paint the top and let dry thoroughly. Flip over, paint the flip side and let dry. Paint the sides, if neccesary. Repeat coats of paint if neccesary. Perfection is overrated- just go with the flow and have fun. Don’t worry about brush marks on your rocks since it just gives them character. If mistakes bother you, you can always repaint if need be. If you want to hasten the drying process, you can use a neat gun.
Decorate Your Rocks
This is my favorite part!
Draw your designs on your rock or you can paint freehand. Paint with acrylic paint or oil based markers. This is where I make a plug for Posca oil based markers. They apply heavy and cover a multitude of flaws. They paint smoothly. If you overlooked mistakes from the last step, you can fix that now. And it’s still okay to leave them imperfect.
If you’d like to make polka dots, you can use the end of a crochet hook or eraser. If you really want to gild the lily, you can buy these nail painting sets with ends in various tip sizes for different sized polka dots. I also did some experimenting with using stickers as well and love how they turned out. Let your rocks dry thoroughly.
Another way I love to do rock painting decorating is with stickers. Yes, you read that right. STICKERS! You can apply the sticker and then attach it with Matte medium or matte medium gloss.
Seal Your Rocks
Spray glaze seals your paint and keeps your rock weatherproof. I’ve found the easiest way to spray your rocks is by shaking the can and spray VERY lightly- and I do mean very lightly. If you spray too heavily, your painted design will run. Test a sample rock first to see how your glaze reacts to the paint you used. You can always do a second or third light coat, letting the, dry thoroughly between coats.
That was easy, wasn’t it?
Spreading the Gospel with your Beautiful Painted Rocks!
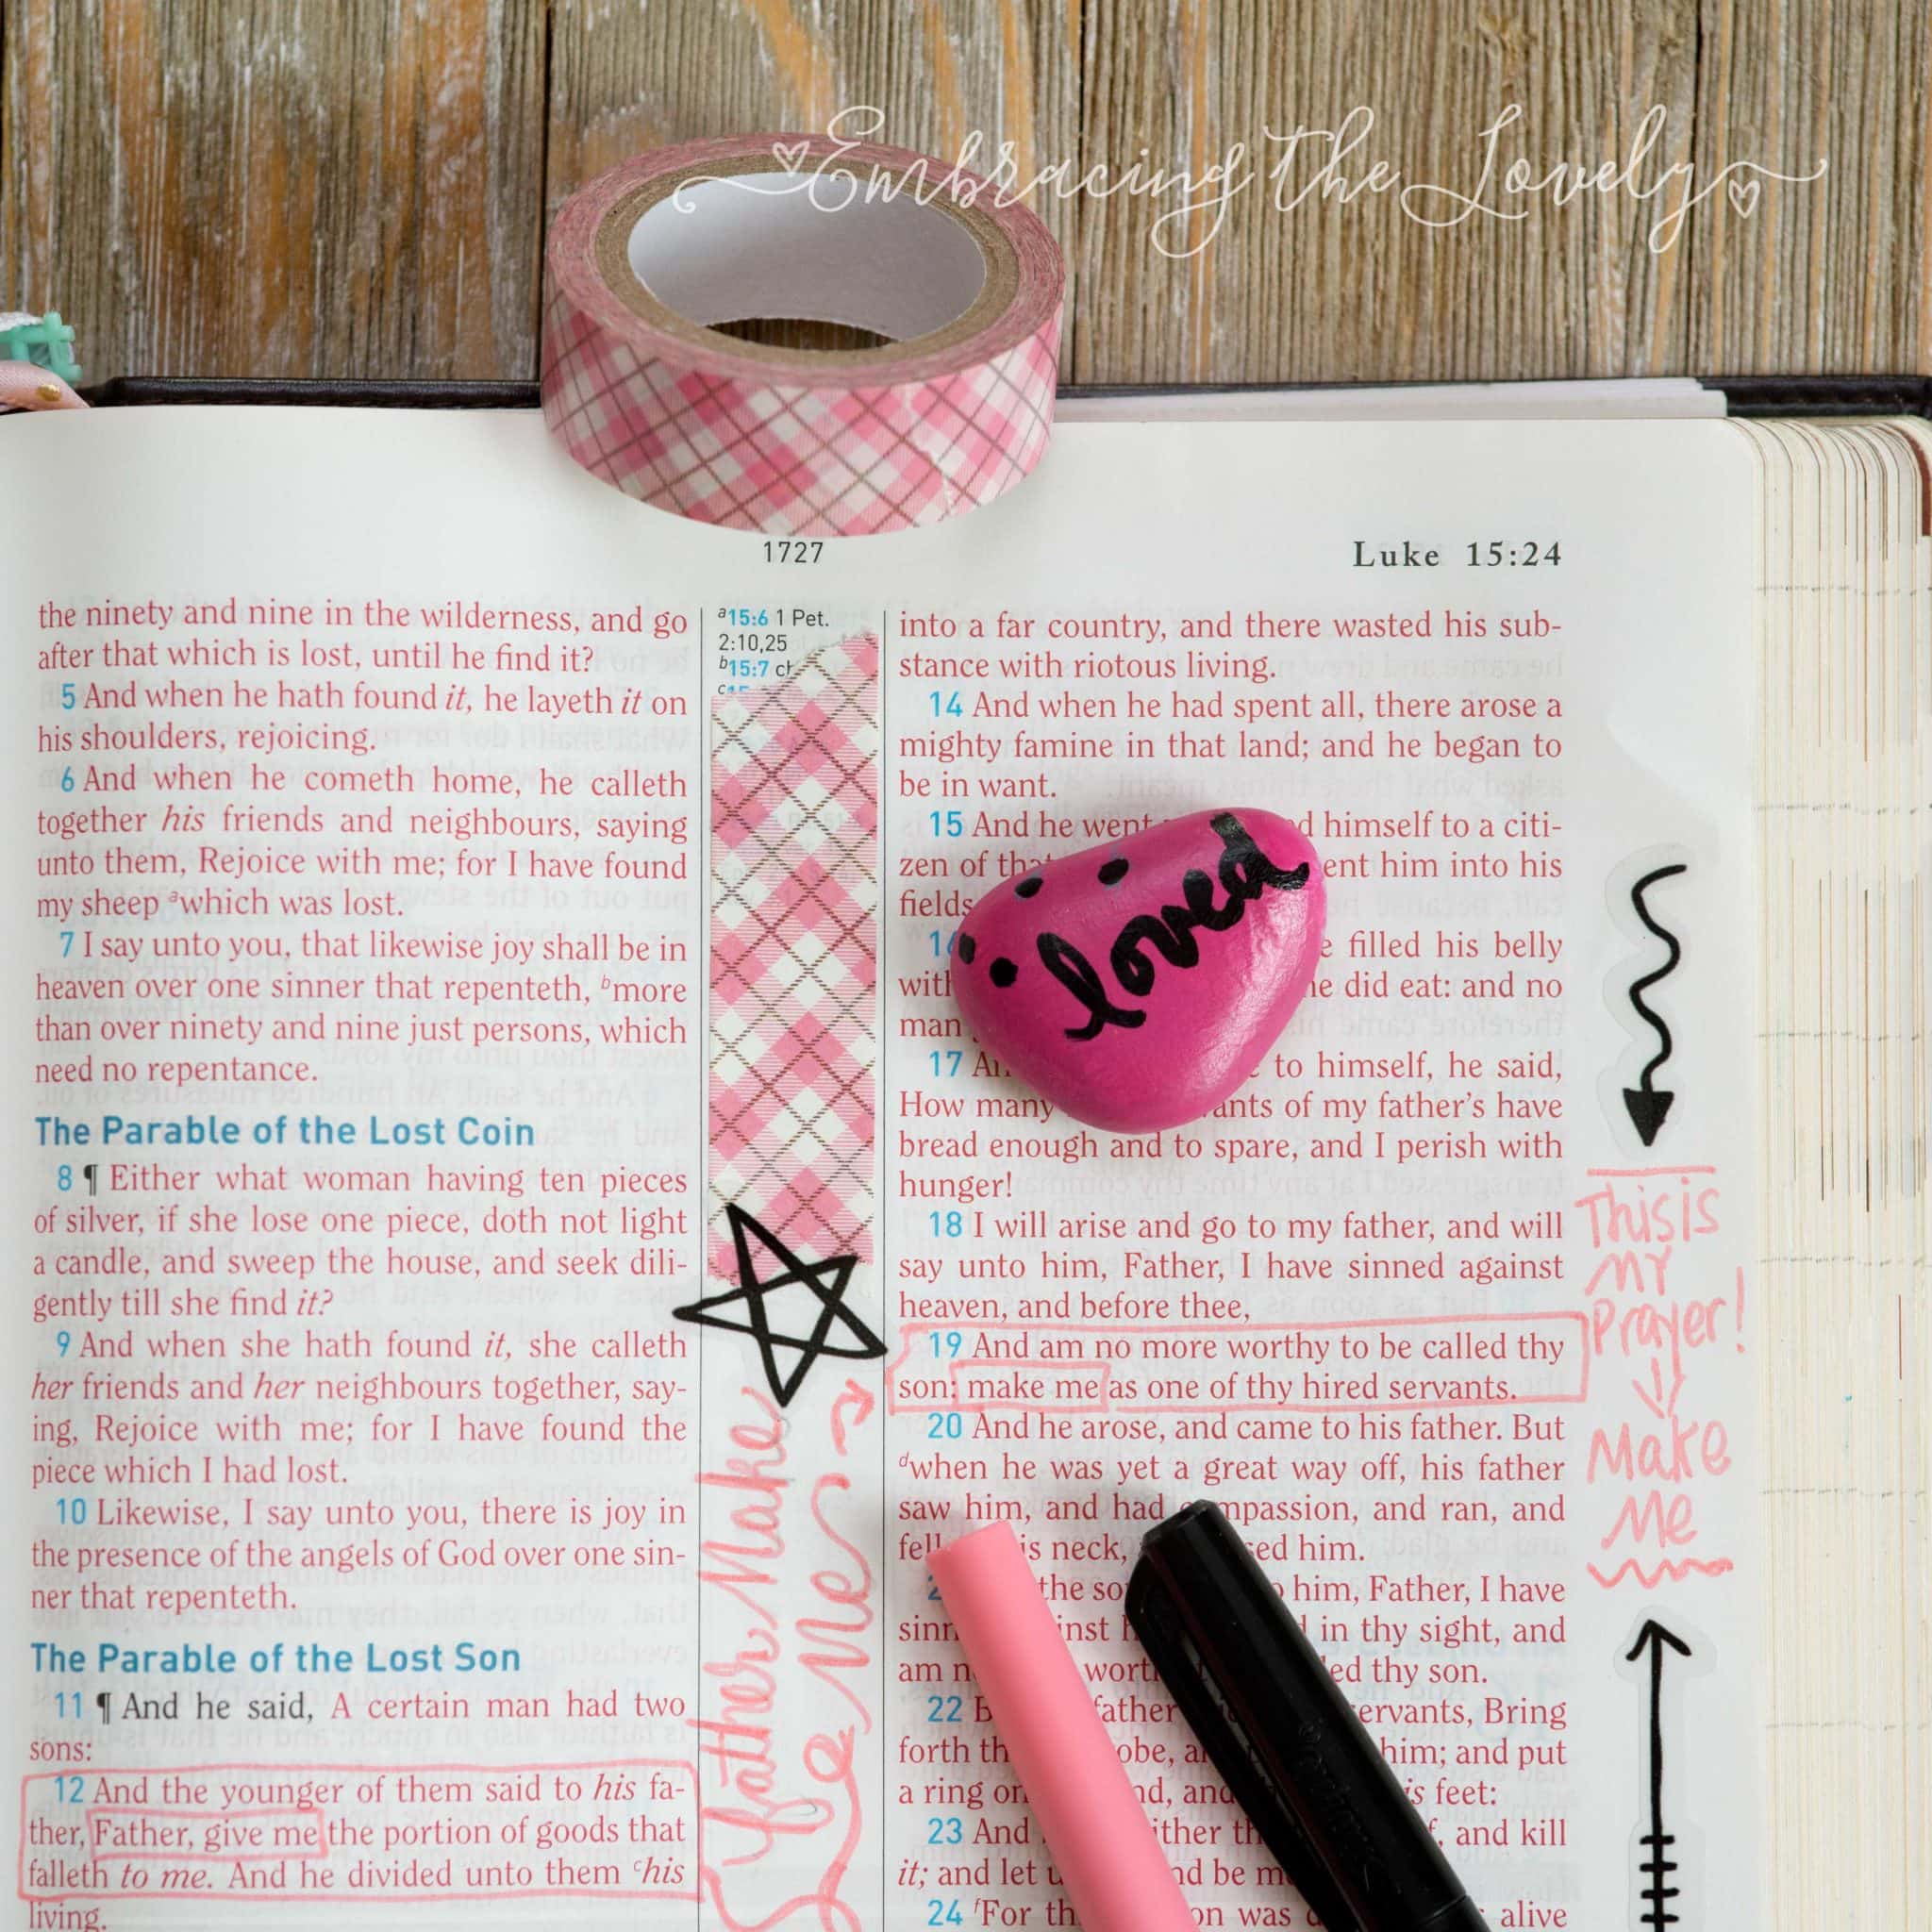
Another wonderful benefit of Rock Painting is spreading the gospel. Inspirational words, scriptures and #hashtags can be painted on your rocks and shared with your community. I won’t go into detail now because I’m saving that for my next rock painting blog post!
Looking at my well studied and colorful Bible makes my heart smile. And adding a colorful button Bible journaling bookmark to hold my reading place in that same Bible makes my heart sing. Are you ready to add a splash of color and creativity to your Bible? These quick and simple DIY bookmarks are the perfect…
Inside: Bible Journaling with Crayons Made Easy with Crayola Twistables. Lying on my belly on the living room floor, my upper teeth bite my lower lip in concentration. Shall I choose a blue or purple crayon out of my big box of 64 Crayola crayons? In my 4 year old mind, I’m not a girl…
[Preview: Are you wanting to know which supplies for digital journaling you need? Here’s where you can find out exactly what I use!] Digital Faith Journaling Supplies Digital note taking and Digital journaling has become a major creative process in my life and it’s totally amazing! One of my favorite things about it is that…
How to Use Coloring Pages in Your Bible Journaling- the Myth that you’re not creative There’s that voice again. It tells you that you can’t bible journal because you aren’t creative… that you can’t draw… that you can’t do anything artistic. Have those thoughts ever journeyed from the recesses of your mind and spewed…
How to Make Easy and Colorful Homemade Bookmarks from Washi Tape It’s no secret tha washi tape makes my heart sing, And these easy homemade bookmarks make my heart leap and sing hallelujah! But all kidding aside- they are quick and easy to put together and would be perfect for girls youth group, children’s crafts…
You open your Bible wanting to create something beautiful… but you’re not an artist. What if I told you, that as a non artist, you could make beautiful Bible journalings in your journaling bible? Would you believe me? I understand the doubt~ I truly do! But I’m here to tell you that it’s very doable….